Self-Service Infrastructure for Developers
Modern development teams waste 30-40% of their time waiting for infrastructure???submitting tickets for Kubernetes clusters, databases, environments, and cloud resources. Self-service infrastructure eliminates this bottleneck by empowering developers to provision what they need, when they need it, through automation and guardrails.
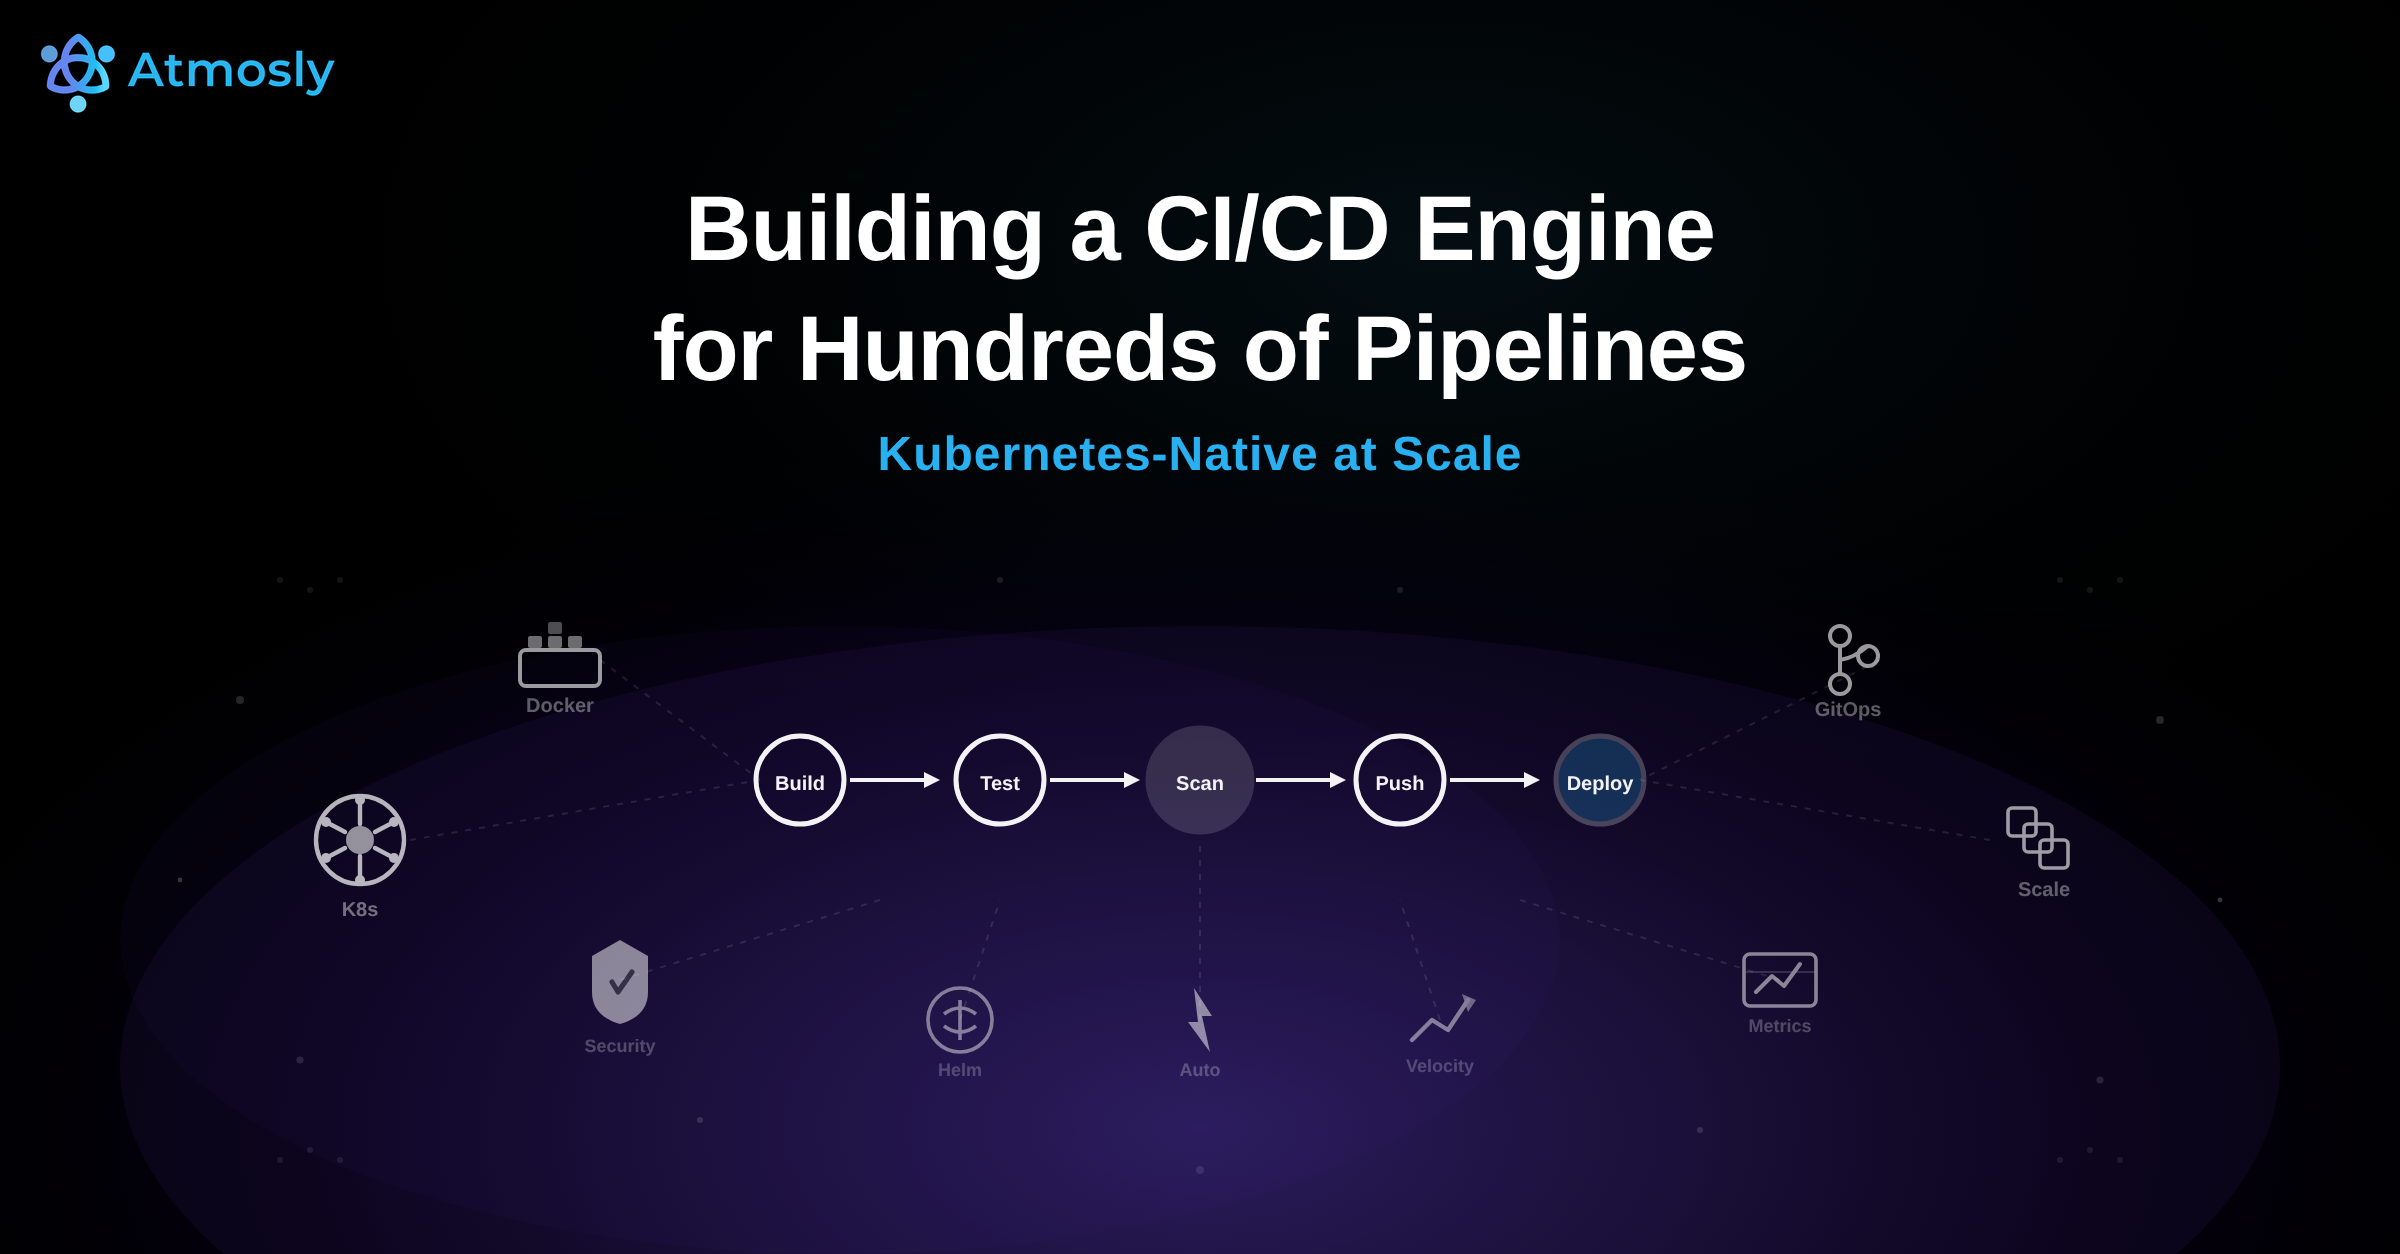
This guide explores self-service infrastructure design with a focus on Kubernetes-first platforms like Atmosly, where developers get instant access to containerized workloads, while platform teams maintain control through policy-as-code and Terraform for underlying cloud resources.
What is Self-Service Infrastructure?
Self-service infrastructure allows developers to provision and manage infrastructure resources without waiting for ops team approval. Key principles:
- Developer autonomy: Deploy apps, scale resources, manage configs
- Platform guardrails: Policies enforce security, cost limits, compliance
- Instant provisioning: Minutes, not days or weeks
- Standardized templates: Golden paths for common use cases
- Full visibility: Platform team monitors all resources
Traditional vs Self-Service Model
| Aspect | Traditional (Ticket-Based) | Self-Service (Automated) |
|---|---|---|
| Request process | JIRA ticket ??? approval ??? manual setup | UI/CLI ??? instant provisioning |
| Time to provision | 2-5 days | 1-5 minutes |
| Developer experience | Frustrating, context-switching | Seamless, focused on code |
| Ops team load | High (manual toil) | Low (focus on platform) |
| Consistency | Varies by person | Standardized templates |
| Compliance | Manual checks | Automated policy enforcement |
Kubernetes-First Self-Service with Atmosly
Atmosly provides self-service infrastructure built on Kubernetes, the universal compute abstraction. Developers work with familiar Kubernetes primitives (Deployments, Services, ConfigMaps) while Atmosly handles the complexity.
Core Self-Service Capabilities
1. Deploy Applications to Kubernetes
Developers deploy containerized applications without understanding cluster internals:
# Atmosly Application Manifest
apiVersion: atmosly.io/v1
kind: Application
metadata:
  name: payment-service
  team: payments
spec:
  image: myregistry.io/payment-service:v1.2.3
  replicas: 3
  resources:
    cpu: 500m
    memory: 512Mi
  environment:
    - name: DATABASE_URL
      valueFrom:
        secretRef: postgres-credentials
  ingress:
    enabled: true
    domain: payments.example.com
  autoscaling:
    enabled: true
    minReplicas: 3
    maxReplicas: 10
    targetCPU: 70
Atmosly automatically:
- Creates Kubernetes Deployment, Service, Ingress
- Configures HPA (Horizontal Pod Autoscaler)
- Sets up monitoring and logging
- Applies security policies (Pod Security Standards)
- Links to team cost allocation
2. Environment Provisioning
Create isolated environments (dev, staging, production) on-demand:
# Atmosly CLI
atmosly env create \
  --name dev-feature-auth \
  --template microservices \
  --team payments \
  --lifetime 7d

# Output: Environment ready in 2 minutes with:
# - Dedicated Kubernetes namespace
# - PostgreSQL database (ephemeral)
# - Redis cache
# - Ingress: dev-feature-auth.atmosly.io
# - Monitoring dashboards
3. Configuration Management
Developers manage application config without touching YAML:
# Update environment variables
atmosly config set payment-service \
  --env production \
  --key STRIPE_API_VERSION \
  --value "2023-10-16"

# Secret management (integrates with Vault/AWS Secrets Manager)
atmosly secret create db-password \
  --env production \
  --from-literal password=securepass123
4. Scaling & Performance
Self-service scaling without capacity planning:
# Scale replicas
atmosly scale payment-service --replicas 10

# Enable autoscaling
atmosly autoscale payment-service \
  --min 3 --max 20 \
  --cpu-target 70 \
  --memory-target 80

# Vertical scaling (update resources)
atmosly resources payment-service \
  --cpu 1000m --memory 1Gi
Guardrails: Freedom with Safety
Self-service doesn't mean uncontrolled access. Platform teams enforce policies automatically.
Policy Enforcement with Kyverno
# Atmosly automatically applies these policies
apiVersion: kyverno.io/v1
kind: ClusterPolicy
metadata:
  name: atmosly-resource-limits
spec:
  validationFailureAction: enforce
  rules:
  - name: require-resource-limits
    match:
      resources:
        kinds:
        - Deployment
    validate:
      message: "All containers must have CPU/memory limits"
      pattern:
        spec:
          template:
            spec:
              containers:
              - resources:
                  limits:
                    memory: "?*"
                    cpu: "?*"
  - name: block-privileged-containers
    match:
      resources:
        kinds:
        - Pod
    validate:
      message: "Privileged containers not allowed"
      pattern:
        spec:
          containers:
          - =(securityContext):
              =(privileged): false
Cost Guardrails
Prevent runaway cloud costs with quotas:
# Team-level resource quota (applied by Atmosly)
apiVersion: v1
kind: ResourceQuota
metadata:
  name: team-payments-quota
  namespace: payments-prod
spec:
  hard:
    requests.cpu: "100"
    requests.memory: "200Gi"
    persistentvolumeclaims: "10"
    services.loadbalancers: "3"
Approval Workflows for High-Risk Changes
Atmosly supports approval gates for production deployments:
# Approval policy for production
apiVersion: atmosly.io/v1
kind: ApprovalPolicy
metadata:
  name: production-deployments
spec:
  environments:
    - production
  requires:
    approvals: 2
    approvers:
      teams:
        - platform-engineering
        - security
  conditions:
    - changeType: deployment
      autoApprove: false
    - changeType: configmap
      autoApprove: true  # Config changes auto-approved
Terraform for Everything Else: Cloud Resources
While Atmosly handles Kubernetes workloads, you need Terraform for underlying infrastructure:
- Kubernetes clusters (EKS, GKE, AKS)
- Databases (RDS, CloudSQL, Cosmos DB)
- Object storage (S3, GCS, Azure Blob)
- Networking (VPCs, subnets, load balancers)
- IAM/RBAC (roles, policies, service accounts)
Architecture: Kubernetes on Top, Terraform Below
?????????????????????????????????????????????????????????????????????????????????????????????????????????????????????????????????????????????
???        Developer Self-Service Layer         ???
???              (Atmosly UI/CLI)               ???
?????????????????????????????????????????????????????????????????????????????????????????????????????????????????????????????????????????????
                  ???
        ????????????????????????????????+??????????????????????????????
        ???   Kubernetes API   ???
        ???  (Atmosly-managed) ???
        ??????????????????????????????????????????????????????????????????
                  ???
    ????????????????????????????????????????????+?????????????????????????????????????????????
    ???   Infrastructure Layer     ???
    ???    (Terraform-managed)     ???
    ??????????????????????????????????????????????????????????????????????????????????????????
    ??? ??? EKS/GKE/AKS Clusters     ???
    ??? ??? RDS/CloudSQL Databases   ???
    ??? ??? VPCs, Subnets, SGs       ???
    ??? ??? S3/GCS Storage           ???
    ??? ??? IAM Roles & Policies     ???
    ??????????????????????????????????????????????????????????????????????????????????????????
Example: Developer Requests Database via Atmosly
Step 1: Developer requests PostgreSQL database
# Via Atmosly UI or CLI
atmosly db create postgres \
  --name payments-db \
  --env production \
  --size db.t3.medium \
  --storage 100GB
Step 2: Atmosly triggers Terraform to provision RDS
# Terraform module called by Atmosly
module "payments_db" {
  source = "./modules/rds-postgres"

  identifier     = "payments-db-prod"
  instance_class = "db.t3.medium"
  allocated_storage = 100

  vpc_id             = data.aws_vpc.main.id
  subnet_ids         = data.aws_subnets.private.ids
  security_group_ids = [aws_security_group.db.id]

  backup_retention_period = 7
  multi_az               = true
  storage_encrypted      = true

  tags = {
    Team        = "payments"
    Environment = "production"
    ManagedBy   = "atmosly"
  }
}
Step 3: Credentials injected into Kubernetes as Secret
# Atmosly creates Kubernetes Secret
apiVersion: v1
kind: Secret
metadata:
  name: payments-db-credentials
  namespace: payments-prod
type: Opaque
data:
  host: cGF5bWVudHMtZGIucmRzLmFtYXpvbmF3cy5jb20=
  username: cGF5bWVudHNfdXNlcg==
  password:
  database: cGF5bWVudHM=
Golden Paths: Standardized Templates
Atmosly provides pre-configured templates for common patterns:
Microservices Template
# atmosly-templates/microservices.yaml
apiVersion: atmosly.io/v1
kind: Template
metadata:
  name: nodejs-microservice
  description: "Node.js REST API with PostgreSQL and Redis"
spec:
  parameters:
    - name: serviceName
      required: true
    - name: team
      required: true
    - name: databaseSize
      default: db.t3.small
  resources:
    - type: application
      image: node:18-alpine
      ports: [3000]
      healthCheck:
        path: /health
        port: 3000
    - type: database
      engine: postgresql
      version: "15"
      size: {{ .databaseSize }}
    - type: cache
      engine: redis
      version: "7"
    - type: ingress
      domain: {{ .serviceName }}.{{ .environment }}.example.com
      tls: true
Using Templates
# Deploy from template
atmosly deploy --template nodejs-microservice \
  --param serviceName=order-api \
  --param team=orders \
  --env staging

# Creates:
# ??? Kubernetes Deployment (order-api)
# ??? Service + Ingress
# ??? RDS PostgreSQL (via Terraform)
# ??? ElastiCache Redis (via Terraform)
# ??? Monitoring dashboards
# ??? Log aggregation
Developer Experience: UI, CLI, GitOps
Atmosly Web UI
Visual interface for developers who prefer point-and-click:
- Application dashboard: Deploy, scale, configure apps
- Environment management: Create/clone/delete environments
- Resource usage: CPU, memory, cost per app
- Logs & metrics: Integrated observability
- Secret management: Secure credential access
Atmosly CLI
For developers who live in the terminal:
# Install
curl -fsSL https://get.atmosly.io | sh

# Authenticate
atmosly login --org mycompany

# Deploy application
atmosly deploy --image myapp:v1.0.0 --env production

# View logs
atmosly logs payment-service --follow --env production

# Open shell in pod
atmosly exec payment-service --env staging -- /bin/sh
GitOps Integration
For teams using GitOps, Atmosly integrates with Argo CD and Flux:
# Git repository structure
apps/
????????? payment-service/
???   ????????? base/
???   ???   ????????? deployment.yaml
???   ???   ????????? service.yaml
???   ????????? overlays/
???       ????????? dev/
???       ????????? staging/
???       ????????? production/
????????? atmosly-config.yaml
Atmosly provides:
- Visual diff before sync
- Approval gates for production
- Automatic drift detection
- Rollback with one click
Observability Built-In
Every application deployed via Atmosly gets automatic monitoring:
Metrics (Prometheus)
# Atmosly auto-configures ServiceMonitor
apiVersion: monitoring.coreos.com/v1
kind: ServiceMonitor
metadata:
  name: payment-service
spec:
  selector:
    matchLabels:
      app: payment-service
  endpoints:
  - port: metrics
    interval: 30s
Logs (Loki/CloudWatch)
Logs automatically aggregated and searchable via Atmosly UI:
# Query logs via CLI
atmosly logs payment-service \
  --env production \
  --since 1h \
  --filter "ERROR" \
  --output json | jq
Traces (OpenTelemetry)
Distributed tracing configured automatically for supported frameworks.
Team Collaboration & RBAC
Atmosly supports team-based access control:
# Team configuration
apiVersion: atmosly.io/v1
kind: Team
metadata:
  name: payments
spec:
  members:
    - user: alice@example.com
      role: admin
    - user: bob@example.com
      role: developer
    - user: carol@example.com
      role: viewer
  permissions:
    environments:
      dev: [deploy, scale, configure, delete]
      staging: [deploy, scale, configure]
      production: [deploy]  # No scale/configure/delete in prod
    resources:
      maxCPU: 100
      maxMemory: 200Gi
      maxStorage: 1Ti
Cost Visibility & Chargeback
Atmosly tracks costs per app, team, environment:
# View team costs
atmosly costs show --team payments --period 30d

# Output:
# Team: payments
# Period: Last 30 days
# Total: $4,532.50
#
# Breakdown:
# - Kubernetes compute: $2,100.00
# - RDS databases: $1,800.00
# - ElastiCache: $420.00
# - Load balancers: $212.50
#
# Top apps:
# 1. payment-service (prod): $1,850
# 2. payment-service (staging): $420
# 3. fraud-detection: $390
Best Practices for Self-Service Infrastructure
- Start with templates: Provide 3-5 golden paths (microservice, API, worker, batch job)
- Enforce guardrails early: Resource limits, security policies, cost quotas
- Make it faster than manual: If self-service takes longer than tickets, developers won't adopt
- Provide escape hatches: Advanced users can drop to raw Kubernetes YAML if needed
- Measure adoption: Track % of requests via self-service vs tickets
- Iterate based on feedback: Survey developers, add missing features
- Document everything: Clear guides, examples, troubleshooting
- Monitor costs: Alert teams when spending exceeds budgets
Conclusion
Self-service infrastructure transforms developer productivity by eliminating wait times and tickets. With Atmosly's Kubernetes-first platform, developers get instant access to containerized workloads with built-in best practices, while platform teams use Terraform to manage underlying cloud infrastructure.
Key benefits:
- ??? 10x faster provisioning: Minutes instead of days
- ???? Security by default: Policies enforced automatically
- ? Cost visibility: Track spending per team/app
- ? Developer autonomy: Deploy, scale, configure without tickets
- ? Platform control: Standardized templates and guardrails
Ready to enable self-service infrastructure? Get started with Atmosly to empower your developers with Kubernetes-native self-service.